 how-to
Book Garage Floor Coating Installation: What to Expect
Last Updated: November 5, 2026
Quick Summary
Book garage floor coating installation by requesting written estimates from at least three providers, vetting each installer with a checklist, and comparing written scopes rather than totals. Confirm the prep method, moisture testing, and warranty terms in writing before you book a garage floor coating.
- Give every provider the same garage dimensions, photos, and sealing history for accurate estimates.
- A photo-only quote is a placeholder, not a price, so ask whether each estimate follows an on-site inspection.
- Compare written scopes side by side, since equal prices can differ in coats, film thickness, and warranty length.
- Clear the floor, shelving, and stored items the night before, and keep the driveway clear for crew access.
- Confirm the cure time and drying window in writing before booking so you can plan around it.
Table of Contents
- How to Book Garage Floor Coating Installation
- The Garage Floor Coating Installation Process Step by Step
- What Drives Epoxy Garage Floor Installation Price
- DIY Epoxy Garage Floor Kit vs Professional Installation
- Frequently Asked Questions
How to Book Garage Floor Coating Installation
Booking garage floor coating installation is a procurement decision: the questions you ask before anyone arrives decide whether the installer grinds properly, tests for moisture, and stands behind the work. Treat it as four stages: request estimates, vet installers, compare written scopes, and prepare the garage.
Stage 1: Request estimates from at least three providers
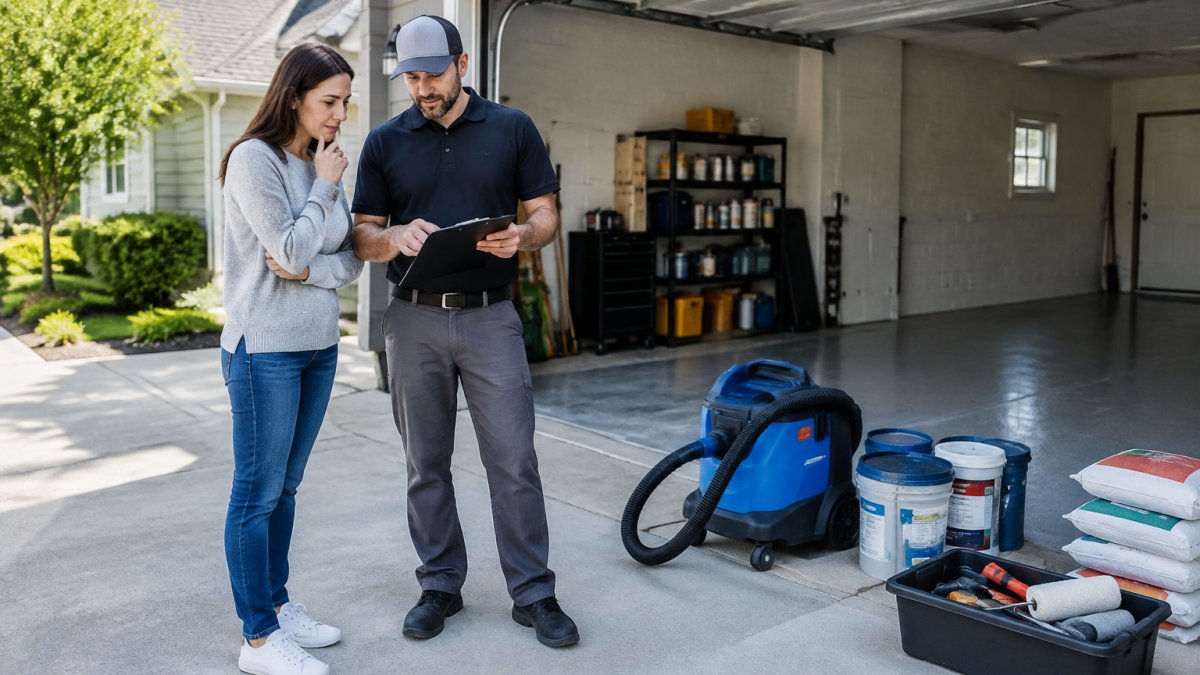
Request written estimates from at least three providers, giving each the same information: garage dimensions in square feet, photos of cracks, stains, and peeling coating, and whether the slab has been sealed before. Ask whether each estimate is based on an on-site inspection or a photo review, a photo-only quote is a placeholder, not a price.
Stage 2: Vet the installer before you compare price
Use a written checklist and score every provider against it. Prep method and warranty terms separate durable floors from short-lived ones far more than the headline rate does.
- Surface preparation method. Ask the provider to explain exactly how they prepare the concrete, and whether that method is suited to bonding a coating to your slab.
- Moisture testing. Ask how they test for moisture vapor and what they do if the reading is high.
- Coating specifications. Request the product name, number of coats, film thickness, and whether the topcoat is epoxy or polyaspartic.
- Insurance and licensing. Ask each provider to confirm their insurance and licensing, and request documentation before booking.
- References and photos. Ask for two or three recent local jobs you can call, plus photos of prep in progress, not just finished floors.
- Warranty terms. Get any warranty in writing and read its exclusions carefully before booking.
- Written quote. It should clearly describe the scope of work, with a clear start date and payment schedule.
Watch out: a quote dramatically lower than the others may reflect a reduced scope of work, so compare the scopes carefully.
Stage 3: Compare scopes, not just totals
Line up the written scopes side by side. Two quotes at the same price can differ in coats, film thickness, crack repair, and warranty length. Ask each provider to confirm in writing what happens if the floor fails, who pays for the repair, and how long the remedy takes.
Stage 4: Prepare the garage before installation day
Preparation is the homeowner's job and affects the schedule. Clear everything off the floor, including shelving and stored items, the night before. Sweep the slab and remove loose debris. Plan where vehicles will park and confirm the access window: most crews need the garage door open for ventilation and equipment, so keep the driveway clear. If the garage shares a wall with living space, ask about odor control and whether anyone with respiratory sensitivity should stay elsewhere during application.
Ask about cure time before you book, and confirm the drying window in writing so you can plan around it.
The Garage Floor Coating Installation Process Step by Step
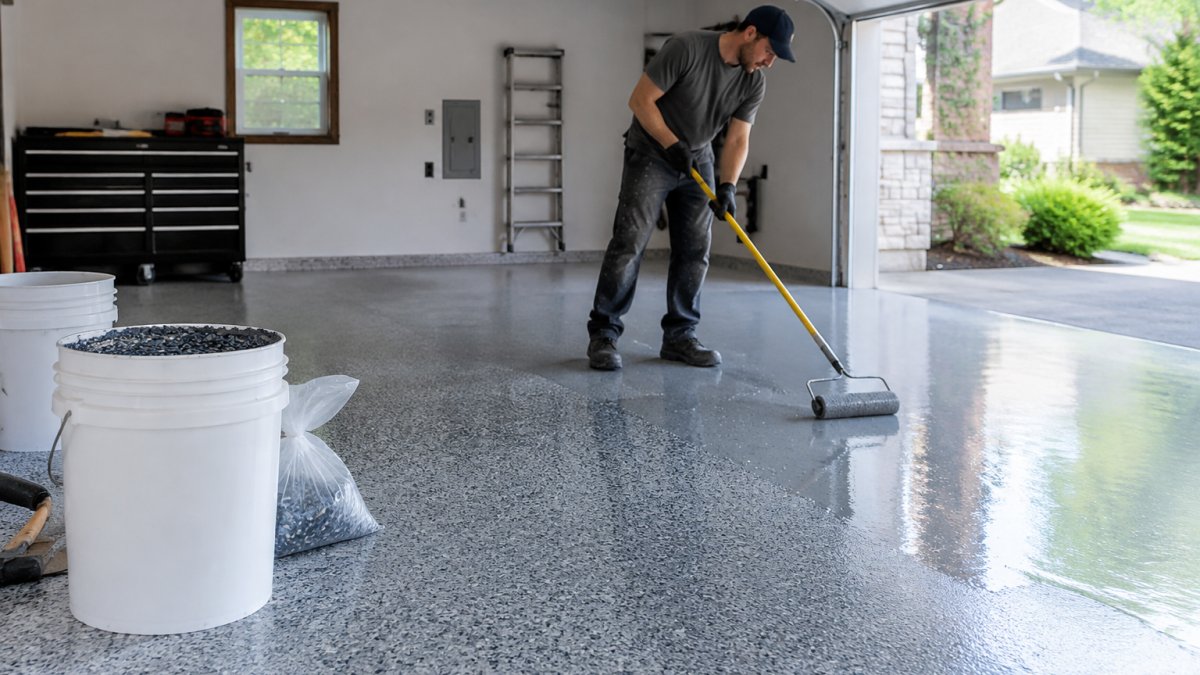
A typical garage floor coating installation involves inspection, surface preparation, repair, coating, and curing. Surface preparation is the longest and most important stage, because adhesion depends on it. The walkthrough below covers what each step involves, how long it takes, and when you can put the garage back to work.
- Inspection. The crew inspects the concrete and its condition before any work begins.
- Surface preparation. The concrete is prepared so the coating can bond to it.
- Crack and damage repair. Cracks and stains are addressed before the coating is applied.
- Base coat. The base coat is applied, with decorative flake colors available if you choose them.
- Topcoat. A polyaspartic or epoxy topcoat is applied for a finished surface.
- Curing. Keep traffic off the floor for the full cure time we give you in writing.
Realistic timeline and access restrictions
Plan around three windows: the installation window, the light-traffic window, and the vehicle window. Keep stored items, shelving, and vehicles out of the garage until you have confirmed in writing when the floor is ready, and ask how temperature and humidity affect the schedule.
Watch out: parking a vehicle on a floor that has not fully cured can cause damage, so follow the written cure schedule rather than the calendar.
What Drives Epoxy Garage Floor Installation Price
Epoxy garage floor installation price depends on four things: garage size in square feet, the condition of your concrete, the coating system you choose, and how much repair the floor needs. A cracked, oil-stained slab takes more prep than a clean one, and prep is where most of the labor goes.
Polyaspartic finish options are available alongside other finishes, and the right choice depends on your garage and how you use it.
We do not publish flat rates because every floor is different. Request a free quote and we will give you a written estimate based on your garage size and an inspection of your concrete.
DIY Epoxy Garage Floor Kit vs Professional Installation
A DIY epoxy garage floor kit may be cheaper up front, but professional installation involves a dedicated preparation process that can make a difference to how a floor performs.
Here is the honest comparison:
Factor | DIY Kit | Professional Installation |
|---|---|---|
Surface prep | Hand cleaning, light etch | Diamond grinding, moisture testing |
Crack repair | Limited | Full repair before coating |
Cure time | Often 3-7 days | Often one to two days |
Durability | Moderate | High wear and chemical resistance |
Warranty | Usually none | Manufacturer warranty options |
If your concrete is sound and you want a quick refresh, a kit can work. If your floor is cracked, stained, or you want a finish that lasts, book garage floor coating installation with a pro. We handle the preparation and repair of your floor, with constant communication throughout the project.
Frequently Asked Questions
How do I book a garage floor coating installation?
Start by requesting a free quote from a professional installer. They will ask about your garage size, the current condition of the concrete, and the finish you want. Ask whether the provider inspects the site before confirming a date. Once you approve the quote, confirm the schedule in writing, and plan to move vehicles and stored items beforehand.
How much does professional garage floor coating installation cost?
Pricing depends on the square footage, the coating system you choose, and how much concrete repair is needed. Heavily cracked or oil-stained floors may require extra preparation work. Ask for a written estimate that describes the scope of work, so you can compare providers fairly. Request a free quote for pricing based on your garage.
How long does garage floor coating installation take, and when can I park on it?
Cure time depends on the product and conditions. Your installer should give you a specific timeline in writing based on the system used and the garage temperature.
Your garage floor should look good years from now, not peel in two. At Epoxy Garage Floors, we use high-quality products, run a thorough preparation and inspection process, and keep you informed at every stage. Get a free quote today and let us refinish your floor to perfection.